klinger oscillator
What Is the Klinger Oscillator?
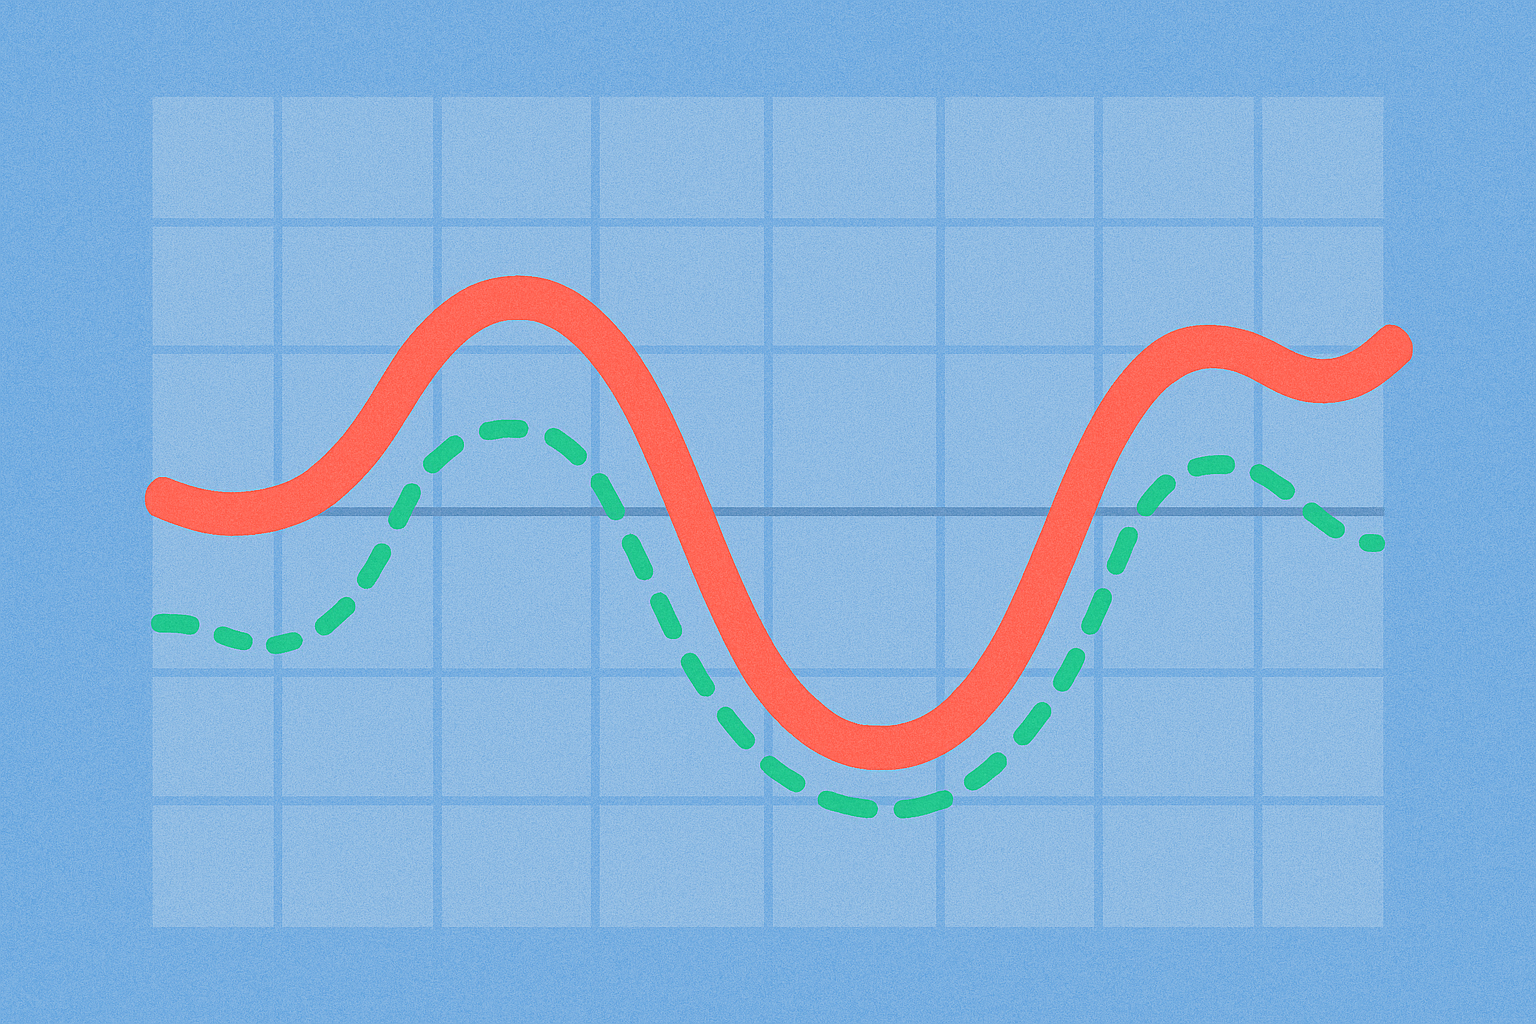
The Klinger Oscillator is a technical analysis tool represented by a line that fluctuates in response to changes in both price and trading volume. Its primary purpose is to reveal whether capital is more likely flowing into or out of an asset. The oscillator is typically used in combination with a signal line, with common trading signals derived from crossovers between the two lines, as well as the duration each line spends above or below the zero axis.
Trading volume refers to the number of coins traded within a specific period and can be thought of as the "flow rate" of market activity. By combining price direction with changes in trading volume, the Klinger Oscillator aims to capture the true movement of capital—offering more insight than price action alone.
How Does the Klinger Oscillator Work?
At its core, the Klinger Oscillator fuses price direction with volume changes to generate what is known as “money flow.” To stabilize and smooth its signals, the oscillator applies an Exponential Moving Average (EMA), which gives greater weight to recent data and helps reduce market noise.
Typically, the Klinger Oscillator calculates the difference between two EMAs of different periods for money flow, resulting in the main oscillator line. A shorter-period EMA is then applied to this main line to form the signal line. Key signals include crossovers between the main and signal lines, as well as movements above or below the zero line.
The intuition behind the indicator is as follows: when trading volume increases during upward price movements, it signals stronger inflow of capital; conversely, increased volume during downward price trends indicates stronger outflow. By compressing this information into an oscillating curve, traders can more easily identify trends and potential turning points.
How Is the Klinger Oscillator Used in Crypto Markets?
In crypto markets, the Klinger Oscillator is often applied alongside timeframes, support and resistance levels, and risk management tools to identify potential trend continuations or reversals. The most straightforward approach is to monitor crossovers between the main and signal lines, and to observe whether the main line remains above (bullish) or below (bearish) the zero axis.
During trending markets, a main line that stays above the zero axis and crosses above the signal line after a pullback is often seen as a signal to follow the prevailing trend. In sideways or choppy conditions, frequent crossovers can lead to false signals, so it’s advisable to use support and resistance boundaries (such as previous highs and lows) for additional filtering.
For example, on a BTC/USDT 4-hour chart, if the main Klinger line is above zero and crosses above the signal line while price breaks through a previous high, many traders may consider taking a long position. However, these are only signals and not guarantees; proper stop-losses and position sizing should always be used.
How to Set Parameters for the Klinger Oscillator?
The most common default parameters use longer periods such as 34 and 55 for the main line calculation, with a shorter period like 13 for the signal line’s EMA. These periods correspond to how many candlesticks’ data are included—shorter periods react more quickly but generate more noise.
- Step 1: For highly volatile altcoins, you can shorten the periods to make the indicator more sensitive and capture rapid changes earlier.
- Step 2: For less volatile assets or when analyzing on daily timeframes, consider lengthening periods for more stable signals and reduced whipsaw.
- Step 3: Leverage zero-line filtering. Many traders only act on long signals when the main line is above zero, or short signals when below zero, minimizing counter-trend trades.
In recent years, crypto market volume has become more volatile. Shorter periods can help capture fast-paced moves but may increase false signals; longer periods provide stability but can miss early trends. Adjust parameters based on your trading pair and timeframe.
How Does the Klinger Oscillator Differ from MACD and RSI?
The key distinction of the Klinger Oscillator is its integration of both volume and price data to better track actual money flow. MACD focuses mainly on price trends by comparing moving averages to gauge momentum shifts. The RSI (Relative Strength Index) measures the speed and magnitude of price movements, commonly used to identify overbought or oversold conditions.
During strong volume-driven uptrends, the Klinger Oscillator provides better insights into whether volume confirms price action. If prices rise but volume does not increase accordingly, Klinger may issue more cautious signals. RSI excels at highlighting reversals at range boundaries during sideways markets, while MACD generally performs better for following medium-term trends.
Choosing which indicator depends on market conditions and your strategy: for trend following, MACD or Klinger are preferred; for range trading, focus on RSI; if you want to factor in volume data, Klinger is your go-to choice.
How to Use the Klinger Oscillator on Gate?
You can add the Klinger Oscillator to your Gate trading charts and adjust its parameters to fit different assets and timeframes. Here’s a basic workflow:
- Step 1: Log in to Gate, select either spot or futures trading, and open a candlestick chart for your desired pair (e.g., BTC/USDT).
- Step 2: In the indicators list on your charting interface, add “Klinger Oscillator,” confirm default parameters or modify them (e.g., set main line periods to 34 and 55, signal line period to 13).
- Step 3: Select your preferred timeframe (such as 15-minute, 1-hour, 4-hour, or daily), and annotate key support and resistance levels on your chart to filter out unreliable crossover signals.
- Step 4: Set up risk management. Regardless of indicator readings, always define your stop-loss and target prices to avoid excessive exposure from relying solely on one signal.
Many Gate users also overlay moving averages and volume bars for additional confirmation—looking for setups where price breaks out, the main line crosses above the signal line, and both remain above zero for higher probability trades.
What Are the Risks of Using the Klinger Oscillator?
The Klinger Oscillator can produce frequent false signals in illiquid markets or assets susceptible to manipulation—especially during sideways price action where frequent crossovers may result in overtrading. Unexpected events or macro news can also invalidate indicator readings by causing price action that deviates sharply from historical patterns.
Overfitting parameters is a common pitfall—optimizing settings for past data doesn’t guarantee future effectiveness and can lead to poor live performance. Another risk is relying solely on this indicator for heavy trading decisions without proper risk controls in place.
It’s recommended to always use stop-loss orders, maintain strict position sizing, and combine Klinger signals with other factors (such as support/resistance, timeframe analysis, and fundamental event calendars) to reduce single-point failure risk.
Key Takeaways on the Klinger Oscillator
The Klinger Oscillator blends price with volume-based money flow, smoothing results via EMA to generate main and signal lines. Traders typically look for crossovers and zero-line positioning for actionable insights. It’s best suited for trend following during strong volume phases but requires extra filtering during range-bound markets. Parameter settings should align with your asset and timeframe—34/55/13 is a standard starting point. You can add this indicator on Gate charts, combining it with support/resistance analysis, timeframe selection, and robust risk controls. No indicator guarantees results; always prioritize stop-losses and position management for capital protection.
FAQ
How do you interpret golden cross (bullish) and death cross (bearish) signals with the Klinger Oscillator?
A golden cross occurs when the KVO line crosses above the signal line (often a 9-period EMA), indicating a buy signal. A death cross happens when the KVO line crosses below the signal line, signaling a sell opportunity. These are the most commonly used triggers for entries and exits with the Klinger Oscillator; beginners should focus on these scenarios when building their strategies.
Is the Klinger Oscillator more effective in ranging or trending markets?
The Klinger Oscillator generally performs better in ranging markets by highlighting reversal opportunities at price highs and lows. In strong trending conditions, it may generate more false signals; combining it with other trend indicators (such as moving averages) can improve reliability and help reduce unnecessary trades.
Can you use the Klinger Oscillator when trading volume drops sharply?
Because it relies heavily on volume data, a sharp decline in trading volume can distort or invalidate Klinger Oscillator signals. In low-volume environments, it’s best to pause use of this tool or switch to other indicators—resume using it once normal volume returns to avoid losses caused by false signals.
What mistakes do beginners make when using the Klinger Oscillator?
Common pitfalls include over-relying on a single indicator without considering market fundamentals or other technical tools. Improper parameter settings or frequent adjustments can also lead to overfitting historical data. Beginners are advised to test thoroughly with demo accounts first and establish comprehensive trading rules before risking real capital.
Can you use the Klinger Oscillator to predict exact tops and bottoms in crypto prices?
While the Klinger Oscillator can help identify potential reversal points, it’s not an absolute tool for predicting exact market tops or bottoms. Ideally, combine its signals with confirmation from multiple indicators—such as support/resistance levels, candlestick patterns, or other oscillators—for higher accuracy. Relying solely on Klinger for top/bottom calls yields limited success rates; exercise caution accordingly.
Related Articles
Exploring 8 Major DEX Aggregators: Engines Driving Efficiency and Liquidity in the Crypto Market

What Is Copy Trading And How To Use It?